How to work with Sub-Themes in IMSMA.mxd
From IMSMA Wiki
| |
The steps below describe what needs to be done in ArcGIS. The sub-theme also needs also to be defined in IMSMANG. These steps are described in Customise Sub-Themes. |
If you would like to add a Sub-Theme, you need to use ArcGIS software to update IMSMA.mxd which is located in C:\IMSMAng\server\gis\maps folder. As example Land by Agriculture blockages will be used.
- For each item there is one User Defined Theme in the IMSMA.mxd.
- Copy the whole group by right-click and chose Copy.
- Then select the highest level for the item, in this case Lands.
- Right-click and chose Paste Layer(s).
- Drag it to where you want it to be.
- Rename it and edit the symbols.
- Use the same syntax as another layer for this item e.g. by Type.
- Apply the same change to the all the other layers for Agricultural Fields Blocked. If you need guidance on how to work with symbology and the syntax for Values, see Change existing symbol in IMSMA.mxd and Add a new symbol to IMSMA.mxd
- Save the IMSMA.mxd and close ArcMap.
- Rename your background mxd. This mxd must not previously been merged/imported into IMSMANG.
- In the IMSMA client (if your configuration is client/server then start the IMSMA client on the server computer) go to File, Import, Map.
- Import the background map which will be merged with the updated IMSMA.mxd.
- Verify in Map Display that the changes are applied.
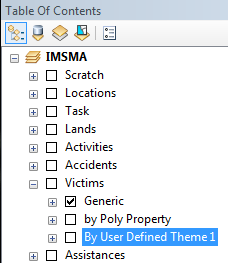
IMSMA layer Land User Defined Theme 1
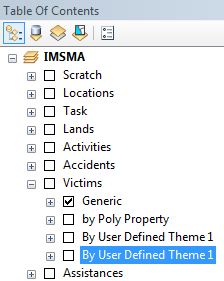
The User Defined Theme 1 copy at its right position
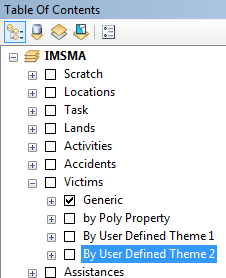
The User Defined Theme 1 copy renamed
| |||||||||||||


