Difference between revisions of "Enter Explosive Ordnance Data in the Data Entry Form"
From IMSMA Wiki
| Line 26: | Line 26: | ||
[[File:Additional Fields.png|440px|]] | [[File:Additional Fields.png|440px|]] | ||
| − | {{note| On Activity templates, the ordnance widget | + | {{note| On Activity templates, the ordnance widget may contain additional fields.}} |
{{NavBox HowTo Enter Data}} | {{NavBox HowTo Enter Data}} | ||
[[Category:CRI]] | [[Category:CRI]] | ||
Revision as of 21:09, 16 January 2015
Data Entry Form Editor Window – Ordnance Table
You will find more information about Ordnance here.
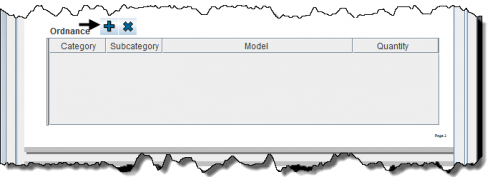
Ordnance is entered in a table format (a.k.a. table widget) in the Data Entry Form.
To enter Ordnance data:
- Select one or more Ordnance that you want to add, then click OK.
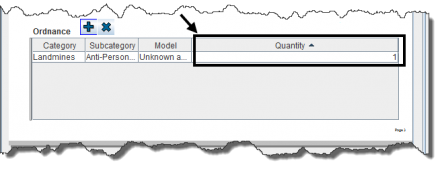
- You should now see your selection in the table.
- To add a quantity, enter the value in the Quantity column.
| |
If you click |
| |
To remove ordnance from your data entry form template, select the row and click |
| |
On Activity templates, the ordnance widget may contain additional fields. |


