Using Data Entry Forms
From IMSMA Wiki
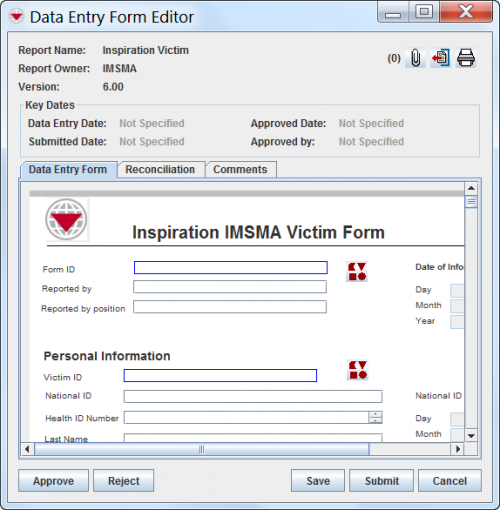
Data entry is performed by completing data entry form templates.
Data entry form templates may contain different data field formats:
- alphanumeric or numeric-only fields,
- multiple or single-select lists and
- table widgets.
Once completed, a data entry form may be saved or submitted for approval.
The data entry form templates have been designed by your IMSMA administrator. Follow your local SOP or contact your IMSMA administrator for guidance on how to enter data.
| How To |
|---|
Open a Data Entry Form Template
- Choose Data Entry > Data Entry Forms > Add Data Entry Forms...
- Select the data entry form template of your choice and click OK.
Enter data in a Data Entry Form Template
| Button | Description |
|---|---|
| |
Allows you to attach a file to the Data Entry Form. |
| |
Exports the Data Entry Form. |
| |
Prints the Data Entry Form. |
| |
This button is used for automatically generate an object ID. |
| |
This button is used for entering date information. |
| |
This button displays is used for entering Country Structure information. |
| |
This button is used for entering Organisation information. |
| |
This button is used for entering Place information. |
| |
This button is used for entering geospatial information. |
| Approve | Removes the Data Entry Form from the Workbench. After a Data Entry Form has been approved, it can no longer be changed. An approved Data Entry Form can be viewed from the Location Summary and Item Summary windows. In order to approve a Data Entry Form, it must have a Location assigned to it. |
| Reject | Saves the Data Entry Form to the Workbench with a Rejected status. |
| Save | Saves the Data Entry Form information to the Workbench with a Saved status so that you can update the Data Entry Form information at a later time. |
| Submit | Saves the Data Entry Form information to the Workbench with a Submitted status. |
| Cancel | Closes the Data Entry Form Editor window without saving the information. (The user is given a warning message prior to closing the report.) |
-
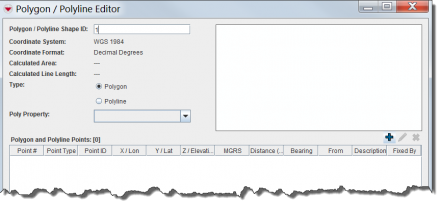
File:Polyline Points.png

| |
Enter points of polygons or polylines in the order they should be drawn in. Indicate the sequence in the Point No. field. |
To retrieve geographic coordinates from your map, click ![]() on the Point and Polygon/Polyline List window. The following toolbar displays. See Draw on the Map to Specify Geographic Coordinates for more information.
on the Point and Polygon/Polyline List window. The following toolbar displays. See Draw on the Map to Specify Geographic Coordinates for more information.
To import polygons and polylines from an Excel spreadsheet or Shapefile, click ![]() . See Import Geospatial Data from Excel and Import Geospatial Data from Shapefile for more information.
. See Import Geospatial Data from Excel and Import Geospatial Data from Shapefile for more information.
| |
Ensure that the spreadsheet displays the following columns and data. |
Adding Attachments to the Data Entry Form Template
-
File:Click Add 2.png
- Click
 to upload a new attachment

