Difference between revisions of "Install IMSMANG Version 6"
m |
|||
| Line 151: | Line 151: | ||
#Open the '''c:\imsmang\database''' folder. | #Open the '''c:\imsmang\database''' folder. | ||
#Double-click the '''install_initial.bat''' file. | #Double-click the '''install_initial.bat''' file. | ||
| − | #In the command window, | + | #In the command window, press any key to start the database generation. |
| − | + | #When the generation is finished you will be prompted to press any key to continue. | |
| − | #When prompted to press any key to continue | ||
{{ note | It is very important that you do not have any connection to the database when you create an initial database or restore a database. | {{ note | It is very important that you do not have any connection to the database when you create an initial database or restore a database. | ||
Revision as of 15:53, 13 December 2013
Computer Requirements
The computer running IMSMANG may have one of the following operating systems:
- Windows® XP Professional 32 bits Service Pack 3 and for 64 bits Service Pack 2
- Windows Vista
- Windows 7
- Windows Server 2003
- Windows Server 2008
| |
IMSMANG v 6.0 has not been extensively tested on Windows 8 and Windows 2012. Contact your IM Advisor at GICHD before installing IMSMANG on Windows 8 or Windows 2012. |
The computer must have:
- A minimum 800 Mhz Pentium® or Xeon® processor (inter-workstation or server), or x86-compatible processor (AMD-K7™/Athlon™/Duron™/Sempron™)
- TCP/IP support
- 10/100 Mbps network adaptor
- A minimum screen resolution of 1024 x 768, with 256+ colours
- 3 GB free disk space on C-drive
- minimum memory setting 1,024 MB
| |
If you are upgrading from previous IMSMANG versions, please read the upgrade documentation first. |
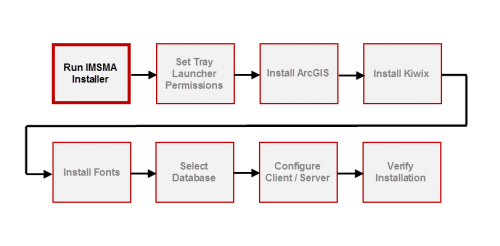
Part 1. Run the IMSMANG Installer
- Double-click the Install_IMSMA.exe file in the installation package.
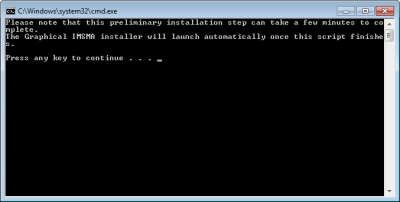
- When the command window displays, follow the instructions.
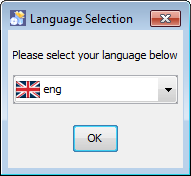
- On the Language Selection window, select the language you want to use during installation and click OK.
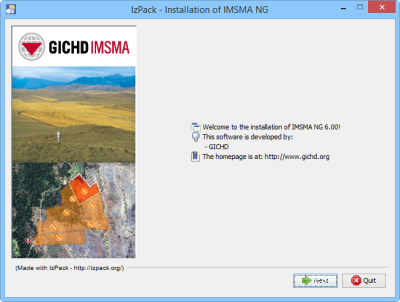
- Navigate the Installation panels of the graphical installer as described below:
- In the Welcome panel, click Next.
- Select the I accept the terms of this license agreement option, and click Next.
- We strongly recommend to use the default installation path for IMSMANG. Click Next.
- If the target folder does not already exist a message will be shown, click OK.
- In the packages selection panel, click Next.
- Wait for the installation progress bar to finish, then click Next.
- When the Setup Shortcuts panel displays, click Next.
- When the installation has completed successfully, click Done.

When the graphical installer has finished the focus goes back to the command window and the next steps of the installation continue so please do not close the command window.
- When prompted by the command window, press any key on the keyboard to continue.
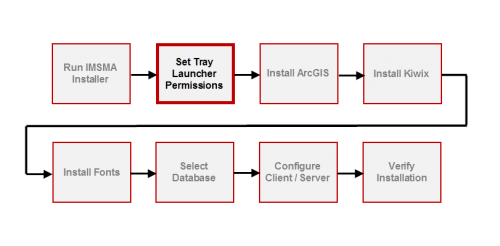
Part 2. Set Permissions for the Tray Launcher
- On your desktop, right-click the IMSMA Tray Launcher icon and select the Properties option.
- In the IMSMA Tray Launcher Properties window, select the Shortcut tab, then click Advanced.
- In the Advanced Properties window, check the Run as administrator checkbox, then click OK.
- Back in the IMSMA Tray Launcher Properties window, click OK.
Part 3. Install Supporting Software
- On your desktop, double-click the IMSMA Tray Launcher icon.
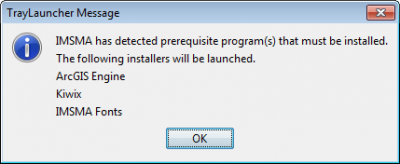
- If any supporting software or fonts need to be installed, a message will display notifying you which ones are required. Click OK to begin the process(es).
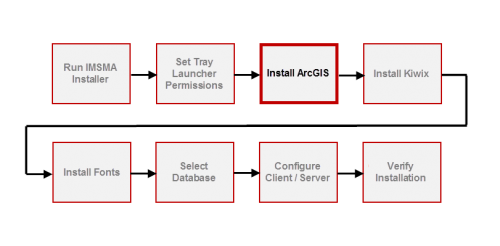
Part 3A. ArcEngine 10.1
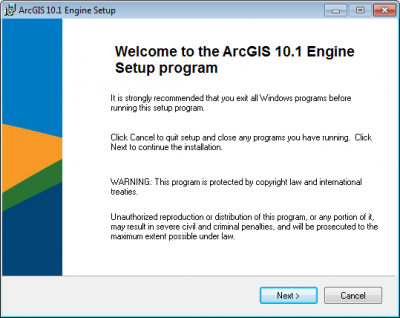
- In the Welcome panel, wait for the setup to compute space requirements, and then click Next.
- In the License Agreement panel, select the I accept the license agreement option, and then click Next.
- In the Select Installation Type panel, verify that the Complete option is selected, and then click Next.
- In the Destination Folder panel, click Next.
- In the Python Destination Folder panel, click Next.
- In the Ready to Install the Application panel, click Next.
- In the Updating System panel, wait for the progress bar to finish.
- When ArcGIS has been successfully installed, click Finish.
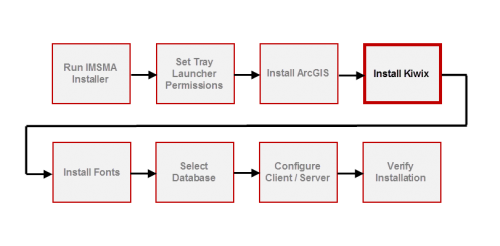
Part 3B. Kiwix
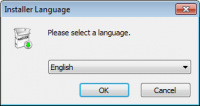
- On the Installer Language dialog, select the language you want to use during installation, and then click OK.
- When the Kiwix Setup panel displays, click License Agreement.
- After reading the license agreement, click I Agree.
- Click Next.
- In the Installing panel, wait for the progress bar to finish, and then click Next.
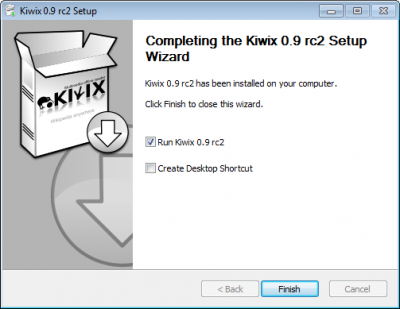
- When Kiwix has been installed on your computer, unselect Start Kiwix and click Finish.
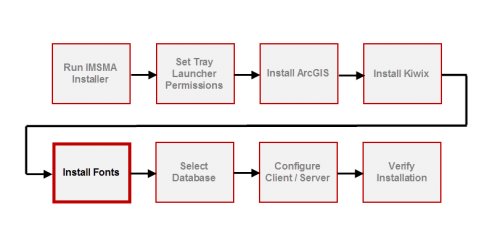
Part 3C. Fonts
The fonts IMSMA 2006.ttf, IMSMA 2006 2.ttf, IMSMA2009.ttf and IMSMA2013.ttf files will be installed on your computer.
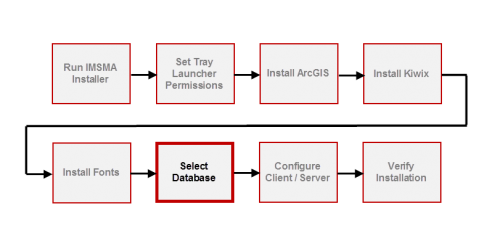
Part 4. Database
If you do not have a database to restore than you should create an initial IMSMA database.
| If you want to... | Do... |
|---|---|
| create an empty database | see the initial database section below. |
| restore an existing database | see the upgrade instructions. |
Initial Database
To create the initial database:
- Open the c:\imsmang\database folder.
- Double-click the install_initial.bat file.
- In the command window, press any key to start the database generation.
- When the generation is finished you will be prompted to press any key to continue.
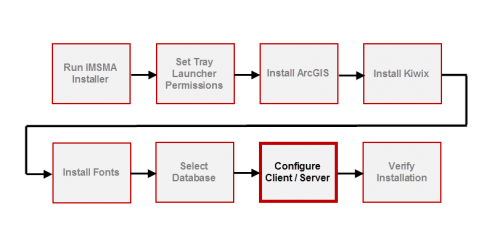
Part 5 Client/Server
If you will use IMSMA as a stand-alone installation, skip Part 5.
To configure the server in a client / server installation:
- Navigate to the c:\imsmang\server\imsmaserver\conf directory.
- Open the GisService.properties file.
- Set the fileserverURI.base property to http://localhost:8080 where localhost is the name or IP address of the IMSMANG server.
- Save the changes to the file.
To configure the client in a client / server installation:
- Start the TrayLauncher.
- Select the IMSMA Client Configuration Tool option.
- Select the value for the java.naming.provider.url property.
- Set the java.naming.provider.url value to hostname.domain replacing hostname and domain with the appropriate values, or to the IP address of the server.
- Press the [Enter] key.
- Set the value for the isClientOnly property.
- Enter “true” in the Value cell for the isClientOnly property.
- Press the [Enter] key.
- Set the value for the AlwaysSyncGeodata property.
- Enter “false” in the Value cell for the AlwaysSyncGeodata property.
- Press the [Enter] key.
- Click the Save button.
- The Your changes have been saved message displays.
- Click the OK button.
- Click the Exit button.
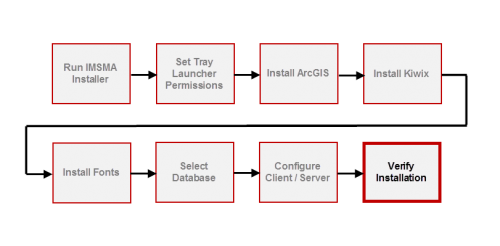
Part 6. Verify installation
The IMSMANG installation is now complete. After installation it is important to start IMSMANG client in order to verify that the installation is complete and working. This is especially important if the user that did the installation, e.g. an IT administrator, is not the same local user that will use IMSMANG.
Follow these steps to start stand-alone server or start the client.
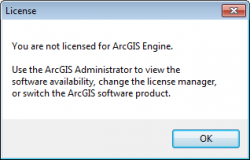
ArcEngine license error message
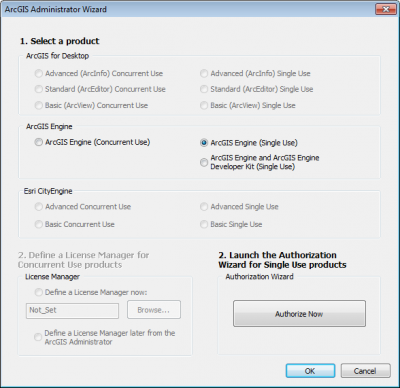
If this error message is received then start the ArcGIS administrator in Start menu > ArcGIS.
Select ArcEngine (Single Use) and click on OK.
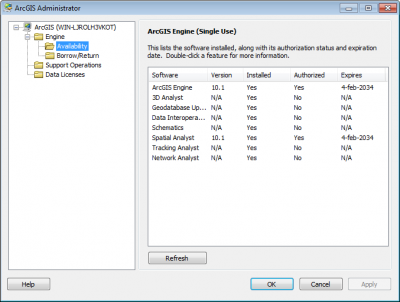
Select Availibility in the tree structure and verify that you have Expires set for ArcGIS Engine and Spatial Analyst.
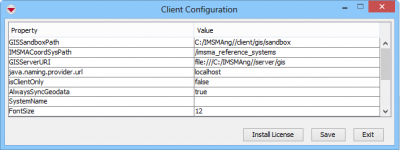
If Expires is not set then right-click on IMSMA Control Center icon in the taskbar and select IMSMA Client Configuration Tool.
Click on Install license button, OK, Save and Exit.
Open the ArcGIS administrator and verify that Expires are set. If not, restart the computer and repeat the steps above until Expires are set.
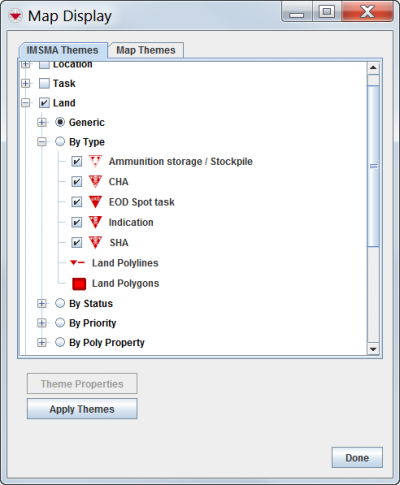
Verify that the fonts are installed In the client, choose Map display in the Map menu and expand Land by Type. If the symbols looks like the symbols in the picture below, the font installation has worked.
If the font installation has not work, go to C:\IMSMAng\trayLauncher\exe\FONTSInstaller and copy the files manually to C:\Windows\Fonts.
