Difference between revisions of "Print an Item from the Summary Window"
From IMSMA Wiki
| Line 1: | Line 1: | ||
{{ New_6.0 | In version 6.0 the printing templates are done with iReport and two types of reports are provided as inspiration for Summary windows. Summary templates have portrait orientation and Geospatial templates have landscape orientation.}} | {{ New_6.0 | In version 6.0 the printing templates are done with iReport and two types of reports are provided as inspiration for Summary windows. Summary templates have portrait orientation and Geospatial templates have landscape orientation.}} | ||
| − | |||
| − | |||
| − | |||
| − | |||
| + | To print an Item from the [[Summary Window]]: | ||
<ol> | <ol> | ||
| − | <li> | + | <li>click the [[Image:PrinterIcon.png | Print]] button.</li> |
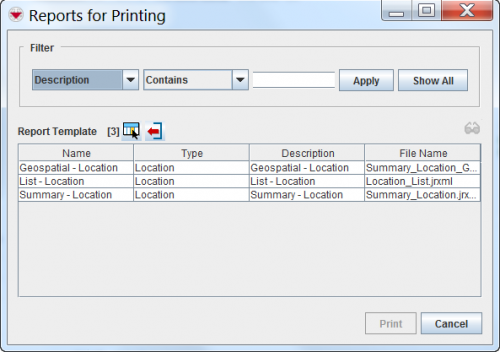
[[Image:ReportsForPrinting.png|center|500px|''Reports For Printing Window'']] | [[Image:ReportsForPrinting.png|center|500px|''Reports For Printing Window'']] | ||
| Line 22: | Line 19: | ||
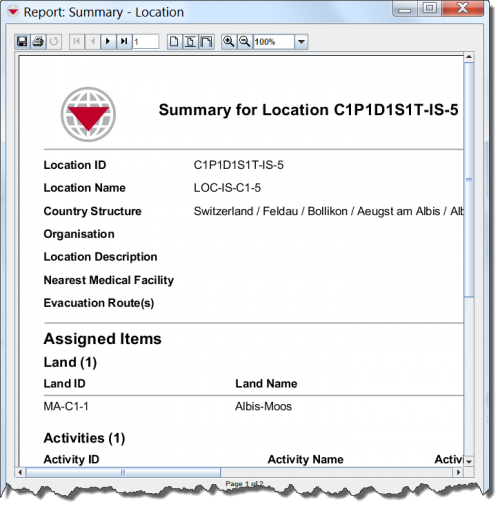
<li>The Report window displays.</li> | <li>The Report window displays.</li> | ||
</ol> | </ol> | ||
| + | |||
Across the top of the Report window is a toolbar that allows you to perform various functions. The following table lists the buttons on this toolbar and their descriptions. | Across the top of the Report window is a toolbar that allows you to perform various functions. The following table lists the buttons on this toolbar and their descriptions. | ||
Revision as of 13:02, 23 March 2015
To print an Item from the Summary Window:
- click the
 button.
 - The Reports for Printing window displays with the list of templates filtered to the current type of item.
- Select one Report Template.
- Click Print.
- The Report window displays.
Reports For Printing Window
Report Window
Across the top of the Report window is a toolbar that allows you to perform various functions. The following table lists the buttons on this toolbar and their descriptions.

