Difference between revisions of "Using Data Entry Forms"
From IMSMA Wiki
m (moved Entering Data into IMSMA to Entering Data into IMSMANG) |
|||
| Line 1: | Line 1: | ||
| − | {{Reference guide header|Data | + | {{Reference guide header|Entering Data into IMSMANG... |
| − | |||
| − | |||
| − | |||
| − | |||
| − | |||
| − | |||
}} | }} | ||
| − | |||
{{HowTo's | {{HowTo's | ||
| Line 30: | Line 23: | ||
| + | <ol> | ||
| + | <li>Choose Data Entry > Field Reports > Add Field Report...</li> | ||
| + | |||
| + | |||
| + | [[File:Test.png|440px|]] | ||
| + | |||
| + | |||
| + | <li>Select the field report template of your choice and click OK.</li> | ||
| + | |||
| + | |||
| + | [[File:Select Template.png|440px|]] | ||
| + | |||
| + | >Click [[File:Select and Organisation.png|20px|<span title=""></span>]] to select an organisation. | ||
| + | |||
| + | |||
| + | [[File:Select an Organization 2.png|440px|]] | ||
| + | |||
| + | >Click [[File:Select a Place.png|20px|<span title=""></span>]] to select a place. | ||
| + | |||
| + | [[File:Select a Place 2.png|440px|]] | ||
| − | + | >Click [[File:Select an Explosive.png|20px|<span title=""></span>]] to select explosive ordnance. | |
| + | |||
| + | [[File:Select an Explosive 2.png|440px|]] | ||
| + | {| class="wikitable" | ||
| + | |- | ||
| + | | [[File:LightBulb.png|20px|<span title=""></span>]] To add a quantity, enter the value in the Quantity column. | ||
| + | |} | ||
| − | + | [[File:Quantity.png|440px|]] | |
| − | + | [[File:Options.png|440px|]] | |
| − | |||
| − | |||
| − | |||
| − | |||
| − | |||
| − | |||
| − | [[ | ||
| − | |||
| − | |||
| − | |||
| − | |||
| − | |||
| − | |||
| − | |||
| − | |||
| − | |||
| − | |||
| − | |||
| − | |||
| − | |||
| − | |||
| − | |||
| − | |||
| − | |||
| + | ::*To add polygon/polyline points click [[File:Select an Explosive.png|20px|<span title=""></span>]]. | ||
| + | [[File:Polyline Points.png|440px|]] | ||
| + | [[File:Polyline Points 2.png|440px|]] | ||
| + | Locate the spreadsheet in your directory and click Open. | ||
| − | [[ | + | [[File:Move2.png|440px|]] |
Revision as of 15:23, 4 September 2012
Entering Data into IMSMANG...
- Choose Data Entry > Field Reports > Add Field Report...
- Select the field report template of your choice and click OK.
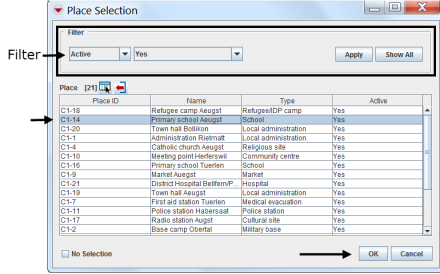
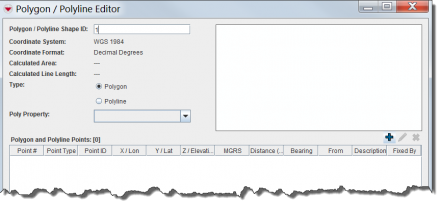
- To add polygon/polyline points click File:Select an Explosive.png.
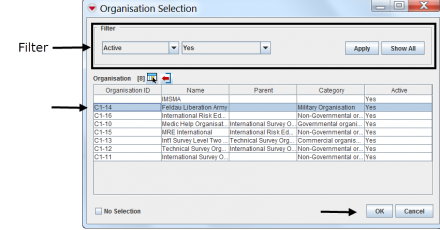
>Click ![]() to select an organisation.
to select an organisation.
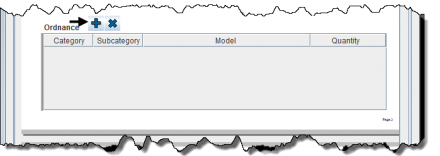
>Click File:Select an Explosive.png to select explosive ordnance.
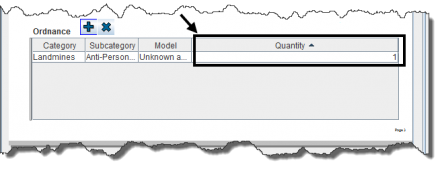
| File:LightBulb.png To add a quantity, enter the value in the Quantity column. |
Locate the spreadsheet in your directory and click Open.
File:Move2.png