Difference between revisions of "Add a Data Entry Form from the Workbench"
From IMSMA Wiki
| Line 1: | Line 1: | ||
To add a Data Entry Form from the Workbench: | To add a Data Entry Form from the Workbench: | ||
<ol> | <ol> | ||
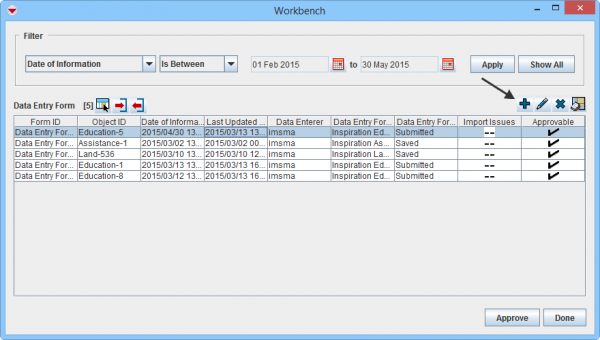
| − | <li> | + | <li>Select one or more Data Entry Forms and click the [[Image:FieldTemplateIcon.png]] button. |
| − | < | + | [[Image:WB_Add.png|600px|center]] |
| − | <li> | + | <div align="center"> '' Workbench window''</div></li> |
| − | <li> | + | <li>The Data Entry Form Templates window displays.</li> |
| − | <li>Click the '''OK''' button | + | <li>Select the appropriate template.</li> |
| − | <li> | + | <li>Click on the '''OK''' button or double-click on the selected row.</li> |
| + | <li>The template opens for Data Entry.</li> | ||
</ol> | </ol> | ||
| − | {{NavBox HowTo | + | {{NavBox HowTo Reconcile and Approve}} |
| − | [[Category: | + | [[Category:COO]] |
Revision as of 15:09, 23 June 2016
To add a Data Entry Form from the Workbench:
- Select one or more Data Entry Forms and click the
 button.
 Workbench window
 - The Data Entry Form Templates window displays.
- Select the appropriate template.
- Click on the OK button or double-click on the selected row.
- The template opens for Data Entry.

| |||||||||||||||||||||