Difference between revisions of "How to make polygons look different in IMSMA.mxd"
From IMSMA Wiki
| Line 33: | Line 33: | ||
</ol> | </ol> | ||
{{NavBox HowTo Setting up Maps}} | {{NavBox HowTo Setting up Maps}} | ||
| + | [[Category:NoPublic]] | ||
[[Category:CRI]] | [[Category:CRI]] | ||
Revision as of 15:11, 28 June 2015
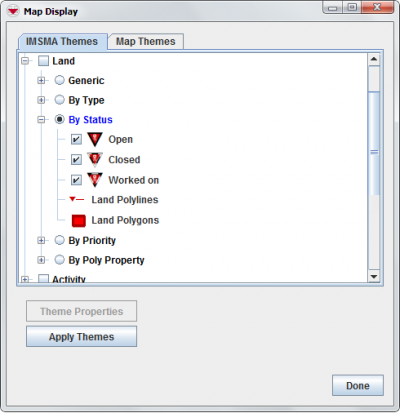
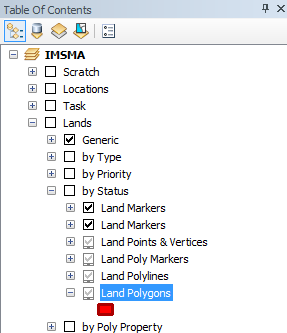
IMSMA layer Land - by Status
If you would like to change the existing symbology, you need to use ArcGIS software to update IMSMA.mxd which is located in C:\IMSMAng\server\gis\maps folder.
As example Land by Status will be used. Here the users wanted to have different colours based on status.
IMSMA layer Land - by Status
- Double-click on the layer or right-click and choose Properties.
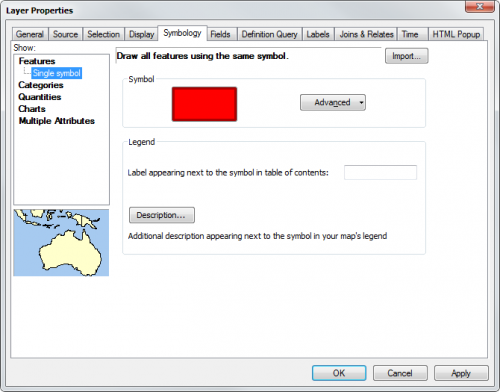
- The following window displays.
- Change to Categories – Unique categories many values.
- Follow the syntax for Land markers of the same group.
- Apply the same change to the other layers in the same group.
- Save the IMSMA.mxd and close ArcMap.
- Rename your background mxd. This mxd must not previously been merged/imported into IMSMANG.
- In the IMSMA client (if your configuration is client/server then start the IMSMA client on the server computer) go to File, Import, Map.
- Import the background map which will be merged with the updated IMSMA.mxd.
- Verify in Map Display that the changes are applied.
Layer Property window - Symbology tab
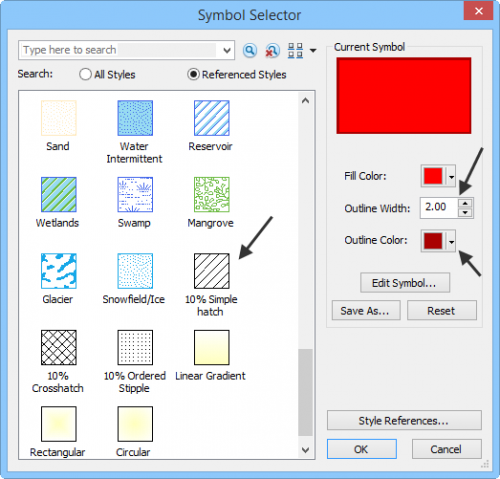
Layer Property window - Symbology tab
| |||||||||||||


