Copy an IMSMA Remote Entry Customisation
From IMSMA Wiki
After installing IMSMA Remote Entry, it is possible to simply copy customisation from one computer to another that can include the following:
- translations
- templates
- Auxiliary data
- images
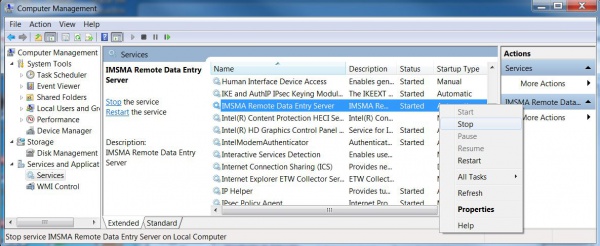
Stop the IMSMA Remote Data Entry Server service
- Go to Computer Management by e.g. in Windows Explorer right-click on Computer and choose Manage.
- Find IMSMA Remote Data Entry Server in the Services list, right-click and choose Stop
Copy the customisation in the IMSMA Remote Data Entry directory
Copy the modified files in the corresponding IMSMA Remote Entry directory:
- C:\IMSMARE\webapp\resources for translations
- C:\IMSMARE\webapp\templates for templates
- C:\IMSMARE\webapp\db\data for Auxiliary data
- C:\IMSMARE\webapp\resources\public\images for images
It is also possible to create a zip file with the above structure to copy a complete customisation in one go.
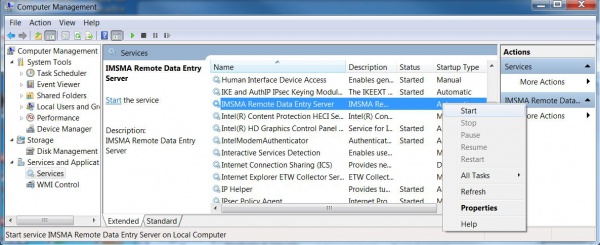
Start the IMSMA Remote Data Entry Server service
- Go to Computer Management by e.g. in Windows Explorer right-click on Computer and choose Manage.
- Find IMSMA Remote Data Entry Server in the Services list, right-click and choose Start
| |||||

