| |
Patch installation of IMSMANG v 6.0 is ONLY possible to use when IMSMANG v 6.0 is already installed. |
Contents
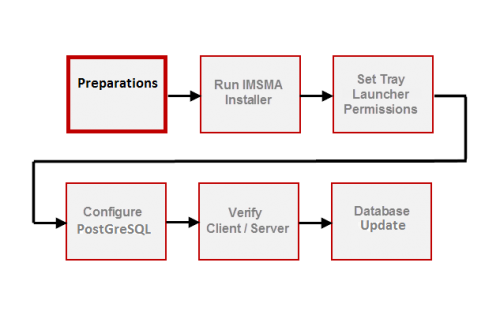
Part 1. Preparations
| |
Read this section carefully because the patch installation will change configuration files. |
- Stop the IMSMANG client and server.
- If you have made any changes to the client and/or server configuration, note them down.
- Take a backup of the IMSMANG database.
- Stop the TrayLauncher.
- Take a copy of the two main PostGreSQL configuration files C:\IMSMAng\pgsql\data\pg_hba.conf and C:\IMSMAng\pgsql\data\postgresql.conf. These contain any custom configurations, e.g. opening up the (staging area) database for MINT, allowing remote database access, etc.
- If you have set up SQL replication, you also should take a copy of recovery.conf on the standby server, as well as the above mentioned configuration files on both the master and the standby server.
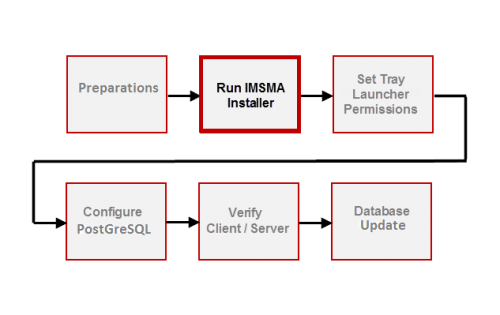
Part 2. Run the IMSMANG Patch Installer
- Double-click the Install_IMSMA.exe file in the patch installation package.
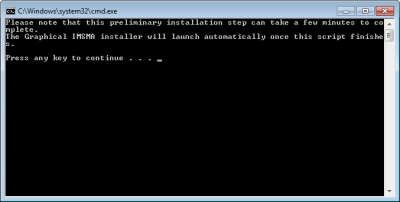
- When the command window displays, follow the instructions.
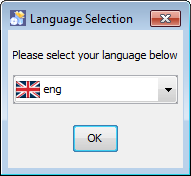
- On the Language Selection window, select the language you want to use during installation and click OK.
- Navigate the Installation panels of the graphical installer as described below:
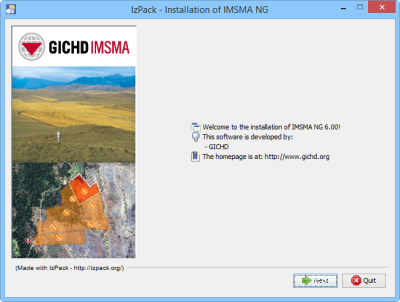
- In the Welcome panel, click Next.
- Select the I accept the terms of this license agreement option, and click Next.
- In the packages selection panel, click Next.
- Wait for the installation progress bar to finish, then click Next.
- When the Setup Shortcuts panel displays, click Next.
- When the installation has completed successfully, click Done.

When the graphical installer has finished the focus goes back to the command window and the next steps of the installation continue so please do not close the command window.
- When prompted by the command window, press any key on the keyboard to continue.
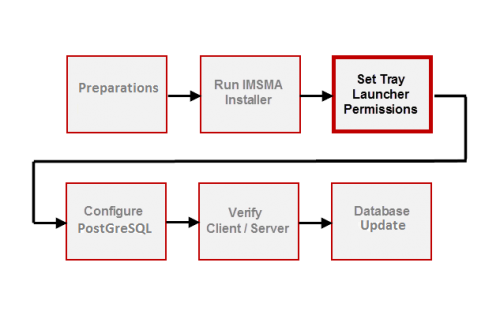
Part 3. Set Permissions for the Tray Launcher
- On your desktop, right-click the IMSMA Tray Launcher icon and select the Properties option.
- In the IMSMA Tray Launcher Properties window, select the Shortcut tab, then click Advanced.
- In the Advanced Properties window, check the Run as administrator checkbox, then click OK. It is important to use Run as administrator the first time IMSMANG is started since other installation programs will be triggered. Depending on how much user permissions are limited, it might be better to not Run as administrator.
- Back in the IMSMA Tray Launcher Properties window, click OK. It is important to set this property since you will start other applications with the Tray Launcher.
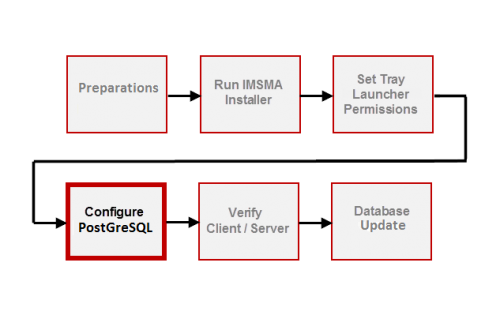
Part 4. PostGreSQL configuration
If there have been any changes done in the PostGreSQL configuration files
- C:\IMSMAng\pgsql\data\pg_hba.conf
- C:\IMSMAng\pgsql\data\postgresql.conf
- C:\IMSMAng\pgsql\data\recovery.conf
they have to be re-applied.
| |
There might have been changes of the files in the patch so all customisation needs to be re-applied. Note that if you have SQL replication set up, the right configuration files need to be restored on the master and the standby server, and the initial backup procedure from the master to the standby needs to be applied. |
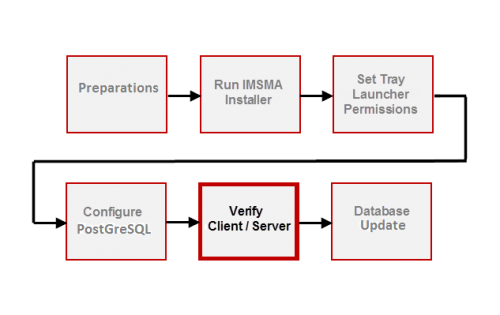
Part 5. Verification of the client/server configuration
The patch installation may also update other configurations than the PostGreSQL so the client and/or server configurations should be verified before continuing.
- The file C:\IMSMAng\trayLauncher\TrayLauncher.properties where the memory allocation is set, should not changed by the patch installation.
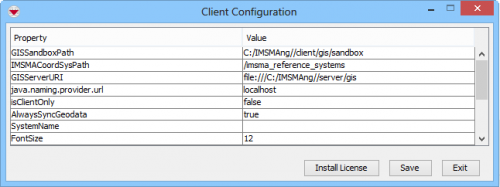
- The client configuration should not changed by the patch installation.
- The file c:\imsmang\server\imsmaserver\conf\GisService.properties needs to be double-checked.
Part 6. Database Update
- On your desktop, double-click the IMSMA Tray Launcher icon.
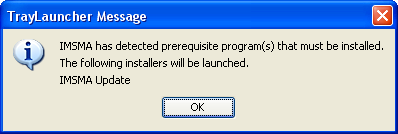
- A message will be displayed notifying you if there are any database changes that needs to be applied. Click OK to begin the process(es).
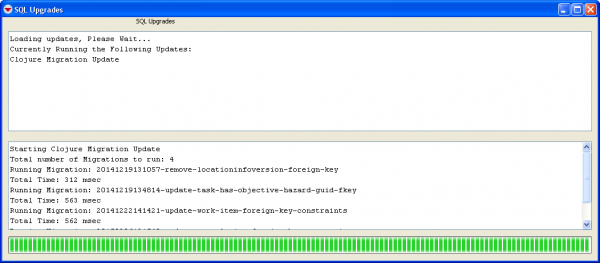
- A SQL Upgrade window will display and the progress will be shown in the lower part of the window.
- When the update process is done a message will be displayed. Click OK.
