Difference between revisions of "Reassign Item to another Location"
From IMSMA Wiki
| Line 1: | Line 1: | ||
| − | {{Note | To do | + | {{Note | To do Data Entry and/or Submit/Approve Data Entry Forms, your {{IMSMANG}} user account must belong to a User Role that has permissions to do so. There are several different permissions e.g. ''Data Entry Form'' and ''Link''. Contact your {{IMSMANG}} Administrator if you have questions on permissions. }} |
[[Image:Summary window toolbar.png|350px|center]] | [[Image:Summary window toolbar.png|350px|center]] | ||
Revision as of 11:54, 11 March 2015
Summary window toolbar
- Open the Location window of the item that requires location reassignment by clicking on the
 in the Summary window toolbar.
 - Select the item in the Location window, and then click the
 button.
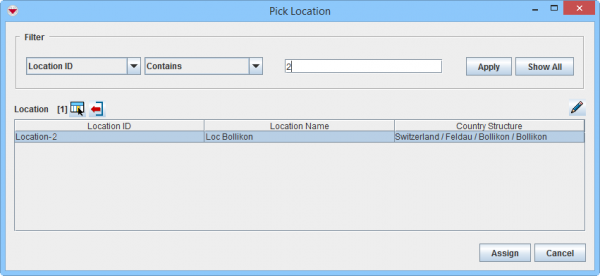
 - The Pick Location window displays.
- Filter the item list to display the desired location. Click here for help on how to filter lists.
- Select a Location from the list, and then click Assign.
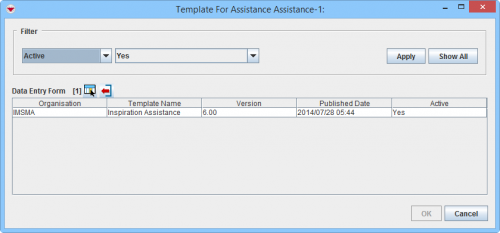
- The template selection window displays.

The list of possible templates are filtered to only included templates for the current item type. - Select the Data Entry Form template that you would like to use
- Click OK.
- The Data Entry Form Editor displays a new Data Entry Form. The following information are automatically populated:
- Form ID
- Item ID
- Date of information
- Reconciliation tab.
Reconciliation Tab Reassign Action
- Save, Submit or Approve the Data Entry Form.
- The items is reassigned to another Location when the Data Entry Form is approved.
Location Summary window
Pick Location window
Select Template window
| |||||||||||||||||||||


