Difference between revisions of "Export Search Result"
From IMSMA Wiki
| Line 20: | Line 20: | ||
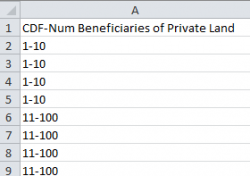
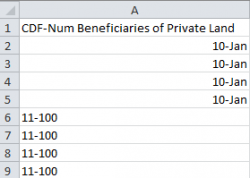
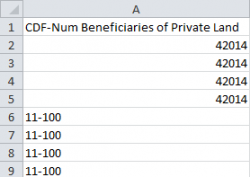
{{Warning | When you open the CSV file in Excel, Excel will automatically interpret data like '''1-10''' as '''10-Jan'''. | {{Warning | When you open the CSV file in Excel, Excel will automatically interpret data like '''1-10''' as '''10-Jan'''. | ||
| − | Therefore check carefully the result in Excel before sharing the export result with others. A | + | Therefore check carefully the result in Excel before sharing the export result with others. A workaround for this Excel behaviour is described '''[[Open CSV in Excel | here]]'''.}} |
To Export data from the selected row(s) to a file: | To Export data from the selected row(s) to a file: | ||
Revision as of 20:51, 5 April 2015
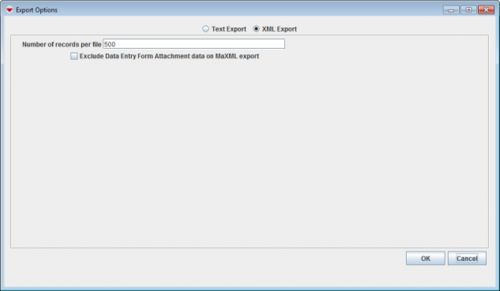
Depending on your Search Target, then search result may be exported in two different formats:
- XML Export – exports to a file in XML format.
- Text Export – exports to a file in CSV format. This comma separated file may be opened with e.g. Excel.
| |
The file format CSV has its limitations. As example is non-Latin characters are not supported. |
To Export data from the selected row(s) to a file:
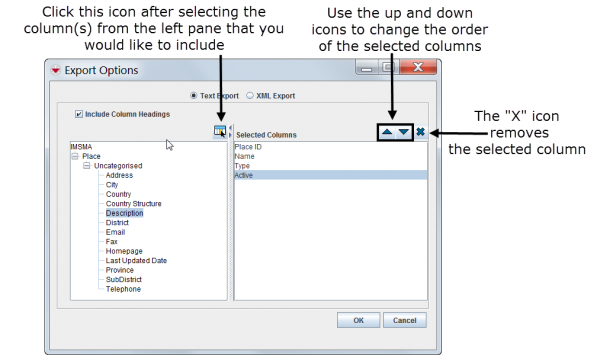
Export Options Window
Export Options Window – Text Export
Export confirmation window
|
|||||||||||||||||||||||||
